Posts Tagged ‘Noah’s Ark’
Noah’s Ark – 3D collage
Posted on: 2 September, 2012
The story of Noah’s Ark is always popular with kids, and we run an annual craft session around it. Last year we made an ark mobile. This year we made a 3-D collage.
This is how I made it:
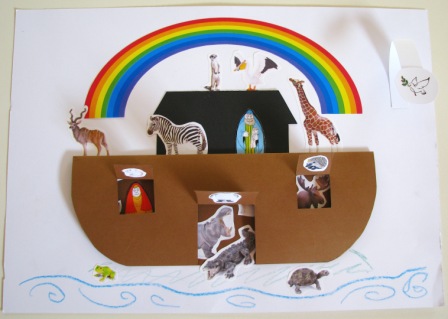
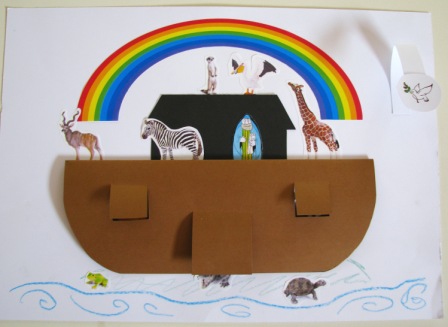
– Fold one rectangular piece of brown cardboard in half lengthwise, then cut the corners to make the curved shape of the ark. Cut a door and two windows on one side. Stick to the background piece of paper.
– Cut the top section of the ark from another piece of cardboard or paper (I used black).
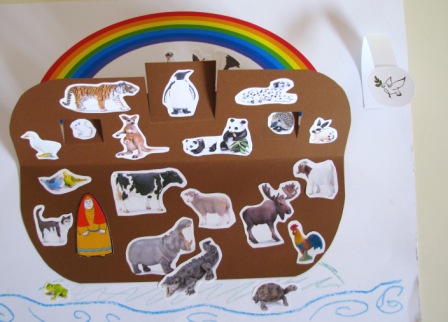
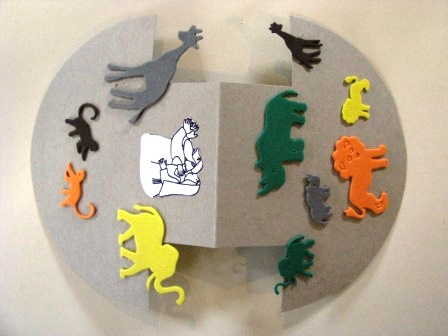
– Print out or draw animals. You can find a selection of animals on white background on the Schleich website (they make realistic miniature plastic animals). Cut them out and glue onto the top and inside of your ark. Alternatively, use animal stickers. Line some up with the door or windows for a nice effect.
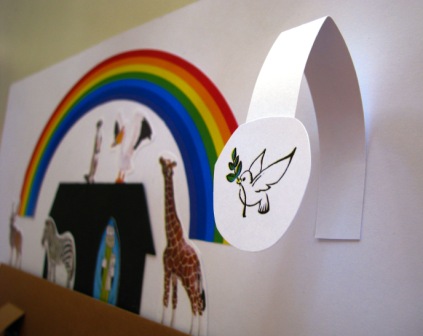
– Add Noah, his faithful yet nameless wife, the rainbow and a dove. I made the dove “flying” on a strip of cardboard bent over and glued on. (see below)
The joy of this design (the folded over ark) is that you can fill the inside with even more animals!
Above: Hatches closed. Below: letting it all hang out.
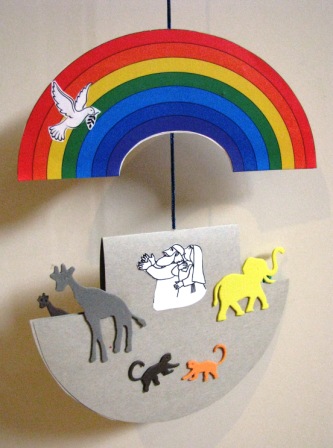
A Noah’s Ark Mobile
Posted on: 12 July, 2011
The story of Noah and his Ark is a perennial favourite, and this is a fun craft activity for children to go with the story.
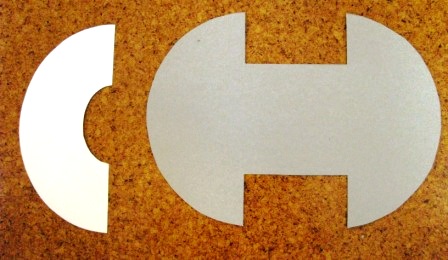
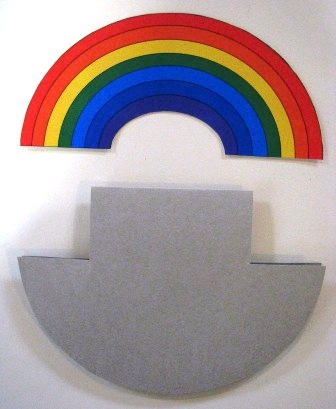
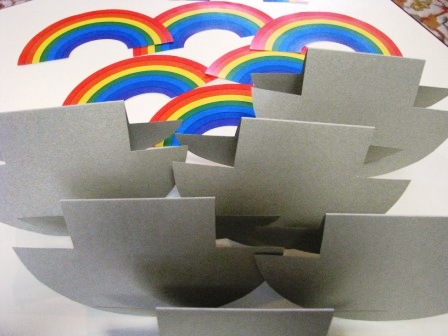
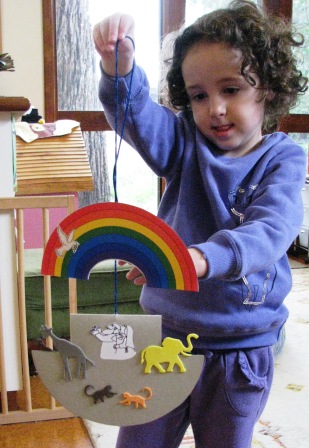
To make it, you’ll need to cut cardboard for the basic shape. (I made a template so I could cut multiple copies for a class activity.) The idea is to make the boat hull reflect the curve of the rainbow. I cut the ark from some recycled greyish-brown cardboard folders. I think it looks better in real life than in my photos.
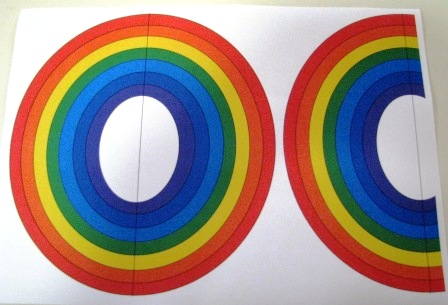
You could colour in the rainbows by hand, using textas, crayons, paints or coloured pencils, but as I was doing this activity with kindy and pre-kindy kids, I decided to create my rainbows on the computer and print them out. Then it’s easy to glue the rainbows on to the template. (Actually I wanted to print directly on to cardboard but my printer was not co-operative.) I created the rainbows by layering oval shapes, decreasing in size, using the “fill” feature to colour them. Be warned, if they are not exactly symmetrical and you want to stick them back to back, then you will need to flip your image and print an equal number of each version.
Assemble your rainbow (colour on both sides) and fold the ark in half (it just looks a bit more substantial than a single layer).
Fill with animals, and don’t forget Noah! I used foam animals from a $2 store, and found a clip-art Noah and dove on the internet. I put the dove onto the rainbow.
Poke a small hole into the centre of the fold in the ark’s “roof”. Tie a knot in a piece of string or wool and insert through. Then stick the ark together with a little tape. Sticky tape the string to the centre of the rainbow. Your mobile will spin in the breeze.
