Posts Tagged ‘Hebrew’
Tactile alef-bet flashcards
Posted on: 5 October, 2014
- In: Craft for mums | Hebrew
- 3 Comments
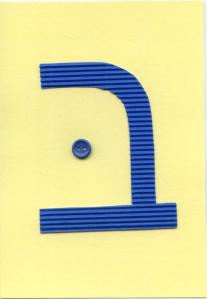
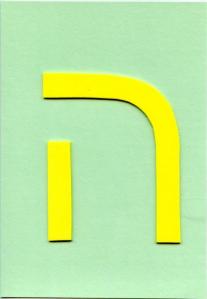
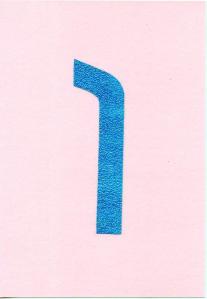
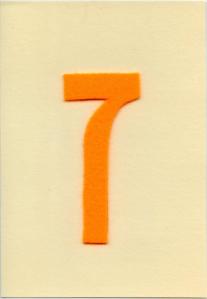
When I started teaching Hebrew alef-bet, I decided to make myself a set of tactile flashcards. A teacher friend suggested cutting letter shapes out of sandpaper, but I wanted something more visually stimulating to complement the touchy-feely aspect. Above you can see a few of the cards I’ve made. In actual fact my class has mostly used them visually, but occasionally I ask them to close their eyes and feel the shape of the letters with their fingers, just to involve another sensory pathway as they learn.
They are a little time consuming to make, but it’s a resource I can keep using for a long time so I think it has been worth the effort!
First I purchased a packet of pastel A5 card and laminated them, to make them more durable.
Next I made paper templates of the letters using the font Gisha at size 600pt. I chose Gisha because of its simplicity – I thought it would be too difficult cutting thick material like corrugated cardboard if I used a more ornate font. Also I figure it’s good for the kids to learn to recognise letters in a variety of fonts.
Lastly I used a selection of tactile materials to make the final product, which I attached using double sided adhesive tape.
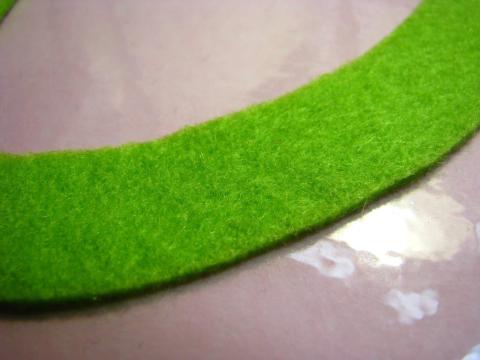
Felt comes in many colours, is easy to cut and doesn’t fray.
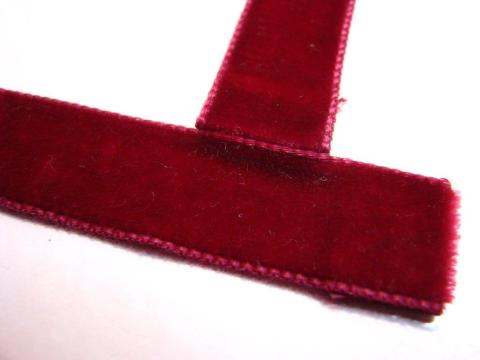
Ribbon is pretty, and this velvet ribbon feels amazing – but it’s not so easy to make it curve neatly, and you need to take care of the ends so they don’t fray. (I folded mine under.)
Textured paper is easy to cut but quite delicate, and not as rewardingly tactile as some materials.
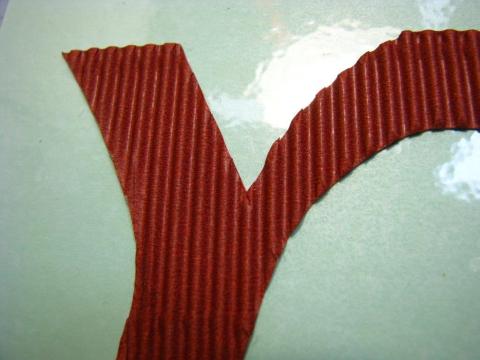
Corrugated cardboard, on the other hand, feels fabulous but can be a bit of pain to cut.
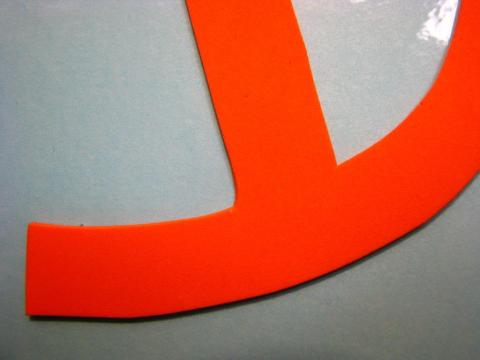
Thin foam sheets are easy to cut out and work with, and give a good raised edge even if they are fairly bland to touch.
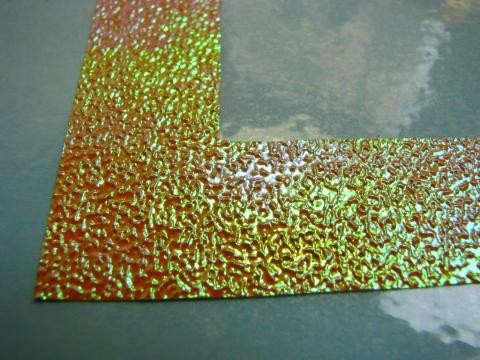
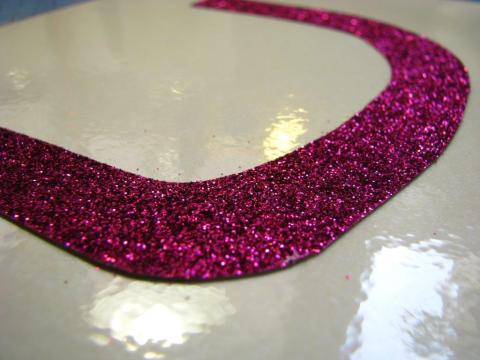
Glitterboard looks fabulous, feels good and is moderately easy to work with, but will shed some glitter. It is also a great way to blunt cutting machine blades (not that I used a cutting machine for these cards.)
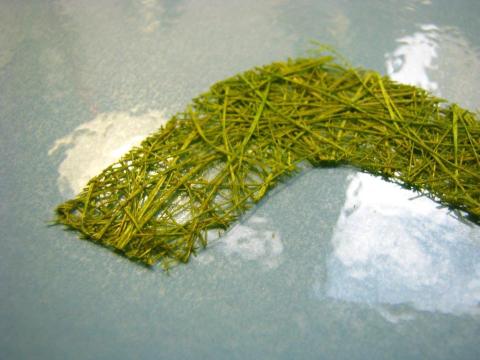
I’m not sure what this sort of material is called – I had a small piece I salvaged from around a boxed floral arrangement. It looks great and is certainly quite different from the other materials, but the kids cannot help themselves and are constantly pulling it apart! I wouldn’t use it again for that reason alone.
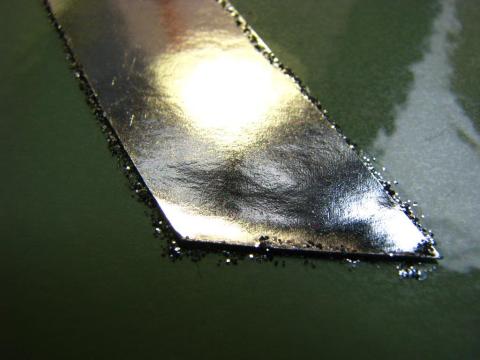
Here I used a smooth paper but edged it (alas, not especially neatly) with a thin line of glitter glue, which dries to a lovely hard ridge and gives a 3-D feel quite different to just the paper by itself.
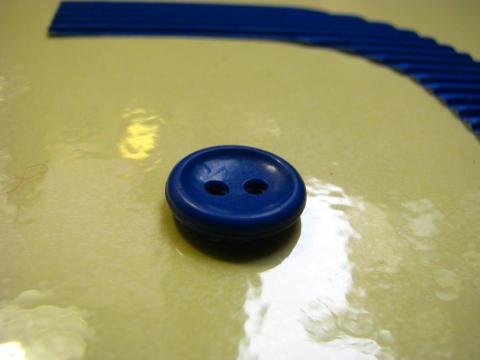
The kids learn “Bet has a belly button” and my Bet card has a button too.
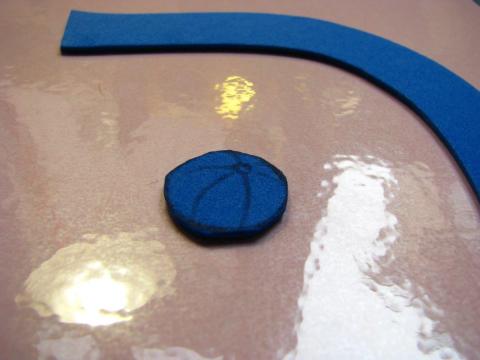
They also learn to distinguish Chaf from Kaf with “Kaf catches” (hard k sound) so my Kaf caught a ball.
For me, the joy of making my own cards is ending up with an useful resource that I like the look of (and feel of) and feel inspired to use!!
Lailah Tov craft
Posted on: 9 June, 2013
- In: Craft for kids | Hebrew
- 5 Comments
We’re between festivals this month, so I decided to focus on some Hebrew words and phrases with the kids in my Shabbat Tot class. “Lailah tov” means “Good night”. For a craft activity, we’re making a collage quilt using squares of fabric. You could also do this activity with squares of paper if you didn’t have any spare fabric.
As a bonus, my fabric represents a number of Jewish festivals, either intentionally or via a process of creative reimagining!
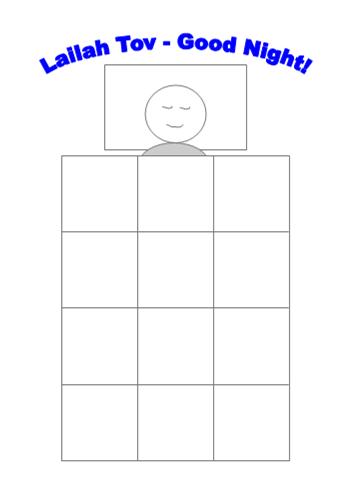
This is the (very simple) backing picture prior to the fabric squares being glued on.
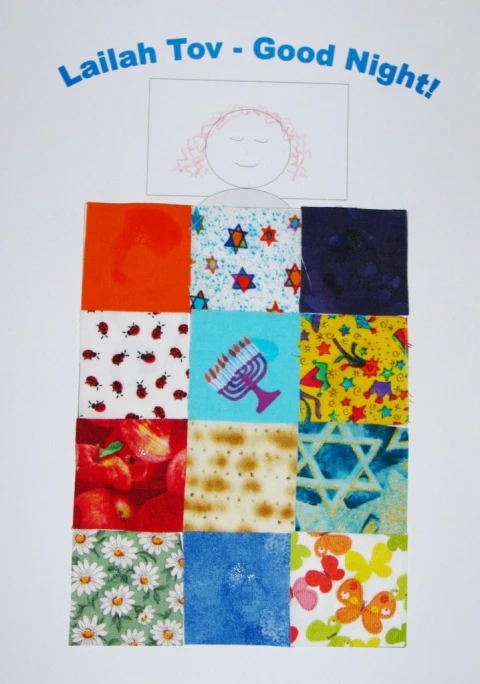
And this is what it looks like with the completed quilt.
Can you spot: matzah for Passover, apples for Rosh Hashanah, a candle holder for Hanukah? How about: party hats for Purim, flowers for Shavuot, a plague of insects and another of darkness for Passover, water that parted at the Red Sea, and a selection of stars of David? If you can suggest what my plain square of orange (ignoring the glue stain) might represent, please leave me a comment!
Appliqued cushions for Chanukah
Posted on: 6 December, 2012
This was a very spur-of-the-moment idea. A friend asked me to bring some cushions for kids to sit on while they listened to Chanukah stories. I was going to fetch a few out of the attic – we have a stash we keep specifically to recline on at Pesach – when I noticed a neighbour was throwing out 4 plain blue cushions. Always happy to recycle, I collected them, washed them, and decided to add some easy applique.
Actually I mentally ran through a bunch of possible decorating ideas before going with what seemed most foolproof! I printed off outline Hebrew letters in the largest font possible (999pt, in case you were wondering) to use as a template, then used heat-n-bond (something I have only recently discovered, but LOVE) to iron the resulting letters onto a square of co-ordinating fabric, and then sewed that to each cushion cover. The zig-zag stitching is not perfect, but it does the job and the whole project was done in a couple of hours.
We’ll be dedicating these cushions to the comfort of dreidel spinners’ tucheses for years to come!
Introducing Israel to children
Posted on: 13 November, 2011
Trying to talk about Israel to children who are only vaguely aware of their own country (or even the concept of what a country might be) is always going to be a bit hit and miss, but that’s no reason not to try. Here’s a way to make it a bit more interactive as a group activity for young children learning about Israel.
I printed off a bunch of little Israel-themed pictures, and cut them out. On the back of each I wrote a question or a fact. Then when I met up with my group of Shabbat Tot kids and their parents, I let the children choose some pictures and their parents read out the question/fact (and contributed to the answer/discussion.) Quite a few of the parents have spent time in Israel, either on kibbutz or as tourists, so it was great to hear them share their memories. Older children would of course be able to read the text by themselves.
Here is a sample of the pictures/questions.
Picture – question
Map of Israel – Where is Israel? I took a globe and we found where we live, where Israel is, and the countries we had all been born in/visited recently.
Jerusalem/Western Wall – What is the capital of Israel? What is in this picture?
Alef-bet – What languages to people speak and write? We talked about Hebrew being written right-to-left. (This lead into our craft activity)
Israeli foods – What do people eat in Israel?
Israeli flag – What is on the Israeli flag? We compared it to a tallis with blue stripes.
Israeli coins – What is Israeli money called? We passed around a selection of Israeli coins.
Man floating in the Dead Sea – What is something unusual you can do in Israel? Lots of parental reminiscing at this one!
Workers on a kibbutz – What is something different about farming in Israel?
Israeli dancers – Let’s learn an Israeli dance together. This was loads of fun.
I heart Israel – Why is Israel special? You can think up as many reasons as you like.
My Hebrew Name
Posted on: 12 November, 2011
My daughter knows quite a few Hebrew blessings, but has had very little exposure to written Hebrew so far, other than the characters on her dreidel collection. Knowing that her name was one of the first things she recognised when she learned the English alphabet, I thought it would be good to put her name in Hebrew up on display in her bedroom. I printed it out onto card, and she decorated the border with a selection of stickers, confetti etc.
I wanted to share the template, but I created it in Microsoft Publisher 2007 and the file can’t be uploaded to this website, for technical reasons beyond my understanding. However if you want to duplicate what I’ve done, I used the following fonts:
First line – Tempus Sans ITC 36pt
Second line (Hebrew) – Narkisim 100pt
Third line – Tempus Sans ITC 60pt
If you’ve never typed in Hebrew before, it’s not hard, and if your Hebrew recognition is not great, trust me it improves really quickly! At the top of your Publisher screen, click on Insert, then Symbol. In the box that pops up, make sure the Subset box says Hebrew. Then double click on each character to type them in, one after another. (If you just choose one and click Insert, it’s a much slower process.)
If you’d prefer to write names in by hand, here’s a .pdf version of My Hebrew Name template
